
How to Build the Ultimate DIY Charging Station at Home: A Step-by-Step Guide
If you’re tired of finding your phone at 10% battery, or your headphones and tablet fighting for the same outlet, it’s time to take control. A DIY home charging station is the perfect way to organize and streamline the way you power your devices.
Whether you live alone or with a family full of gadgets, building your own charging station will save time, reduce clutter, and keep everything powered and ready when you need it. This step-by-step guide shows you exactly how to create a compact, stylish, and functional setup using affordable tools and materials.
Step 1: Identify All the Devices You Need to Charge
Start by taking inventory of your daily devices. Consider smartphones, tablets, smartwatches, Bluetooth earbuds, power banks, cameras, and gaming controllers.
Write down each device and its charging requirements, such as:
- Type of connector (USB-C, Micro USB, Lightning)
- Required voltage and amperage
- Charging frequency (daily, weekly, etc.)
This helps you choose the right number of ports and the type of charging hub later in the process.
Step 2: Choose the Right Spot for Your Charging Station
Pick a location that is accessible and doesn’t disrupt your daily flow. Here are some popular locations:
- Entryway table: Great for dropping off phones and smartwatches when arriving home
- Bedroom nightstand: Perfect for overnight charging
- Home office desk: Keeps devices powered during work hours
- Kitchen corner: A central location for families
Make sure the area has access to a wall outlet and enough space to house your setup without being obtrusive.
Step 3: Select or Build the Base Structure
Now that you’ve picked a location, choose what will serve as the physical frame for your charging station. This could be:
- A wooden box or crate
- A multi-compartment desk organizer
- A drawer insert
- A mail sorter or vertical file rack
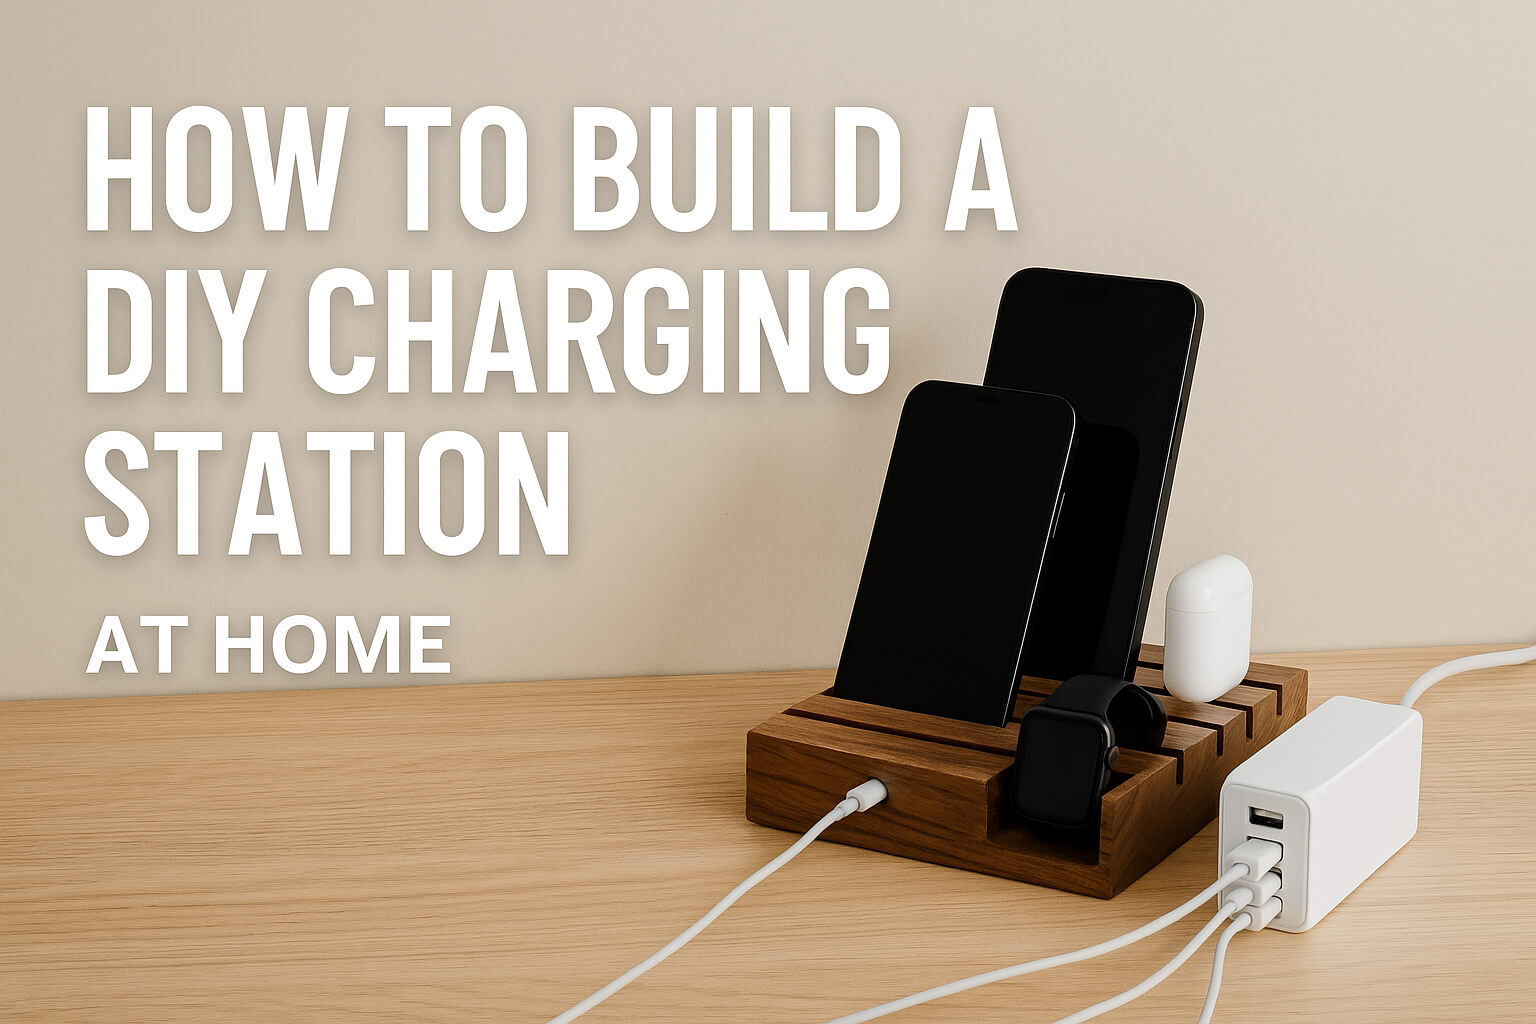
If you’re handy with tools, you can build a custom wooden dock with drilled cable holes and slots for each device. Ensure the base is large enough to hold your devices securely while leaving space for airflow.
Step 4: Purchase the Right Charging Hub
This is the heart of your charging station. Choose a USB charging hub or smart power strip that includes:
- At least 4 to 8 USB-A or USB-C ports
- A power output of 2.4A per port (or higher for tablets)
- Quick charge or Power Delivery (PD) support for faster charging
- Surge protection features for safety
Make sure the total wattage supports simultaneous charging for all your devices.
Step 5: Plan and Organize Your Cables
Use short-length cables to reduce clutter. For example, 1-foot or 0.5-foot cables work best when devices are docked closely. Match cable types to device requirements and consider color-coding them for ease of use.
For cable management:
- Use adhesive cable clips or cable organizers
- Attach cables under the base or behind the structure
- Label each cable with tags for specific devices
Neat cable routing not only improves the appearance but also prevents damage from tangling or stretching.
Step 6: Add Optional Features to Enhance the Setup
Depending on your needs and style, here are some useful add-ons:
- Wireless charging pads for Qi-enabled smartphones and earbuds
- LED night light for visibility in the dark
- Smart plug to schedule charging during off-peak electricity hours
- Small drawers or trays for storing accessories like SIM tools, USB drives, or earbuds
Personalize the charging station with wooden finishes, decorative trays, or matte paint to match your home’s aesthetic.
Step 7: Safety & Maintenance Tips
Make sure all electronics used in your station are certified and reliable. Avoid overloading any single power source.
- Keep chargers and devices cool and well-ventilated
- Regularly check for frayed cables or hot surfaces
- Unplug the power strip when not in use for extended periods
Using a smart surge protector with built-in overload prevention can add an extra layer of safety.
Why Build a DIY Charging Station?
By creating your own charging station, you’re not just organizing cables. You’re building a system that fits your daily life, saves time, and looks great on your desk or counter.
It’s a perfect DIY project for beginners and tech enthusiasts alike, offering both practicality and satisfaction.
If you’re curious about USB ports, connectors, and fast-charging protocols, you can check out this USB basics overview on Wikipedia.