
How to Build a Portable Solar Power Kit for Camping & Emergencies (2025 DIY Guide)
A portable solar power kit is one of the most practical and rewarding DIY projects you can tackle, especially if you enjoy camping, van life, or simply want reliable emergency power during outages. With the rising interest in off-grid living and sustainable energy, knowing how to build a functional solar kit puts you ahead of the curve.
Whether you’re a weekend adventurer or preparing for emergencies, this guide covers everything from selecting the right components to building and maintaining your setup safely.
What Can a Solar Kit Power?
Portable kits are perfect for small to mid-range energy needs such as:
- Charging smartphones and tablets
- Powering LED camping lights and fans
- Running a laptop or small router
- Keeping walkie-talkies, radios, and GPS units charged
They’re not built for powering large appliances like microwaves or space heaters but can easily support essential electronics.
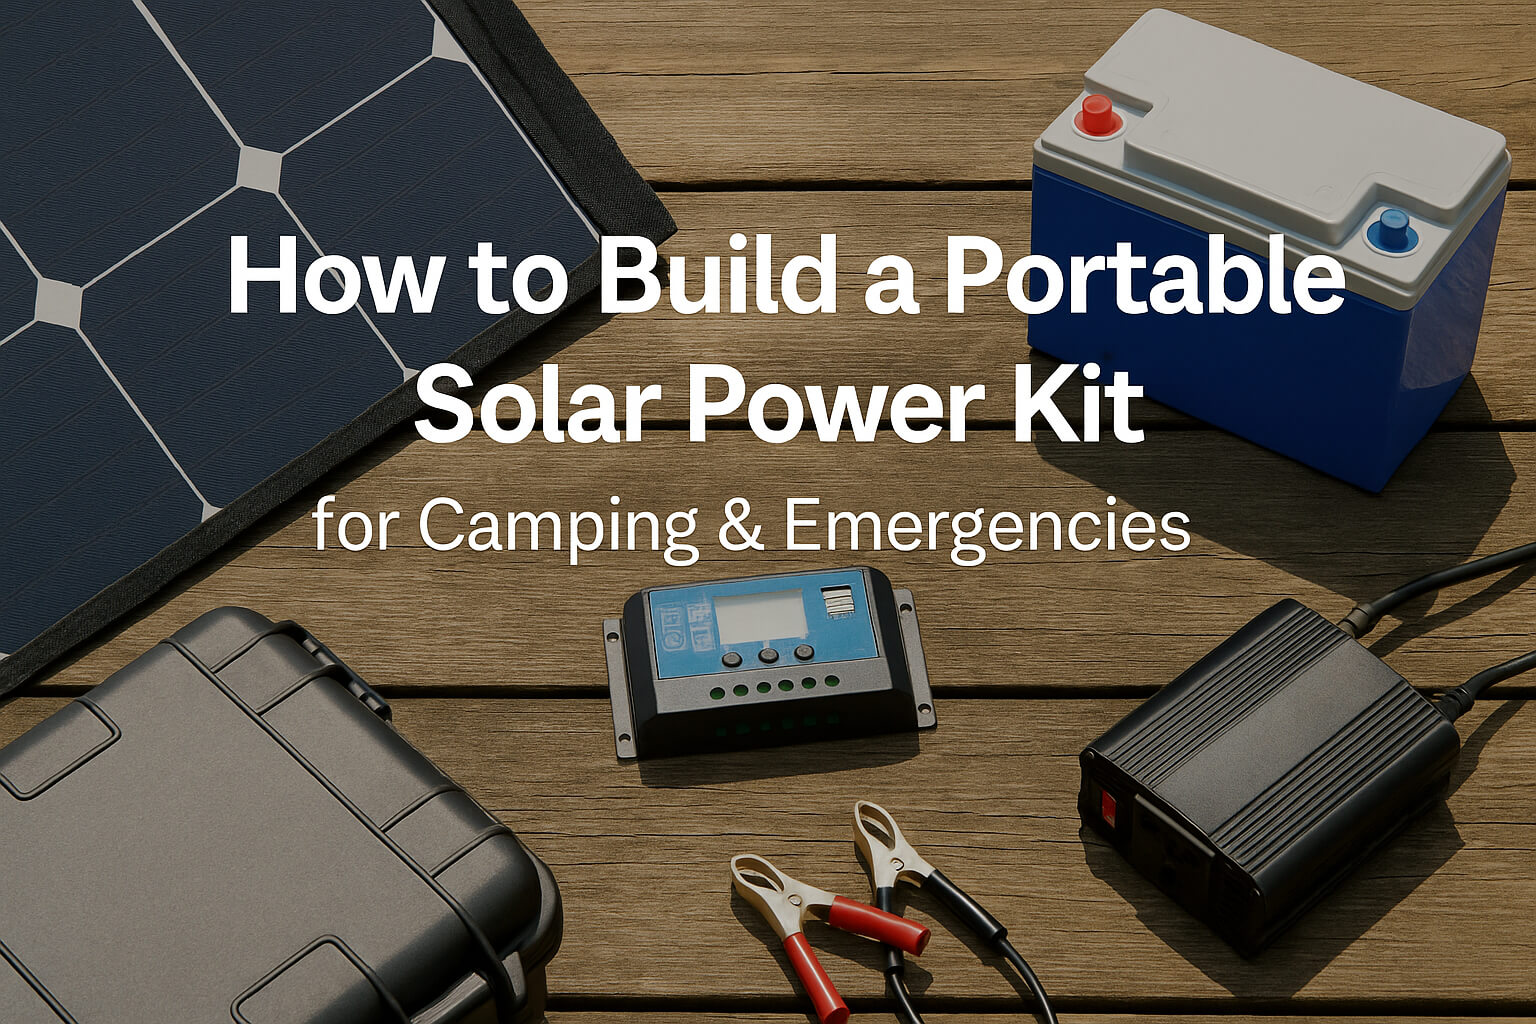
Essential Components You’ll Need
Solar Panel
Choose a portable, foldable panel rated between 80W and 200W. For longer trips or cloudy conditions, go with higher wattage. Panels with monocrystalline cells are more efficient than polycrystalline ones.
Charge Controller
This device protects your battery from overcharging. MPPT controllers are 20–30% more efficient than PWM options. Learn more about the difference from this detailed MPPT vs PWM comparison.
Battery (AGM or LiFePO4)
AGM batteries are budget-friendly but heavy. LiFePO4 batteries are lightweight, safer, and last much longer. A 100Ah LiFePO4 battery is ideal for a mid-range kit.
Power Inverter
If you plan to power devices that use AC (like a laptop or camera charger), a pure sine wave inverter (300W–600W) is recommended. This intro to solar inverters explains how inverters convert DC energy into usable AC for appliances
Wiring and Connectors
Use thick wires (typically 10 or 12 AWG) with proper MC4 connectors and fuses. Always install a fuse between the battery and inverter for safety.
Weatherproof Case
Store all components in a rugged, water-resistant case with foam inserts or dividers. A toolbox or plastic storage case with latches works great.
How to Calculate Power Needs
Add up the watt-hours your devices consume in a day. Example:
- Phone (10W × 3h) = 30Wh
- Laptop (60W × 2h) = 120Wh
- LED Light (5W × 5h) = 25Wh
Total: 175Wh/day
With this in mind, you’d need a panel capable of generating at least 200Wh per day and a battery with at least 300Wh of storage (ideally more for cloudy days).
Assembling the Kit
Connect your solar panel to the charge controller using MC4 cables
Connect the charge controller to the battery
Finally, connect the battery to the inverter (if using AC devices)
Always connect the battery to the charge controller before connecting the solar panel, to prevent voltage spikes.
Deployment Tips
Tilt your panel at a 30–45° angle to maximize sun exposure
Check polarity before every connection
Avoid running your battery below 20% to extend lifespan
Place the kit on an elevated or waterproof surface
Maintenance and Upgrades
Clean your panel regularly using a damp microfiber cloth
Monitor battery voltage using a battery monitor
Upgrade to dual-input controllers for charging from both solar and USB-C wall sources
Why This Project Is Ideal in 2025
Portable solar is no longer just for experts. Costs have dropped, components are plug-and-play, and tools are accessible to anyone with basic DIY knowledge. This project is an ideal introduction to renewable energy, electrical safety, and sustainable technology.