
How to Build a Smart Mirror at Home (Beginner-Friendly DIY Guide)
Smart mirrors are no longer just futuristic concepts; they’re real, affordable, and surprisingly fun to build. With a bit of tech and creativity, you can transform a regular mirror into a voice-powered dashboard that displays time, weather, calendar events, news, and more.
Whether you’re looking to add a sleek touch to your bedroom or embark on a rewarding weekend project, this guide will walk you through building your own smart mirror using beginner-friendly tools and widely available components.
What Is a Smart Mirror?
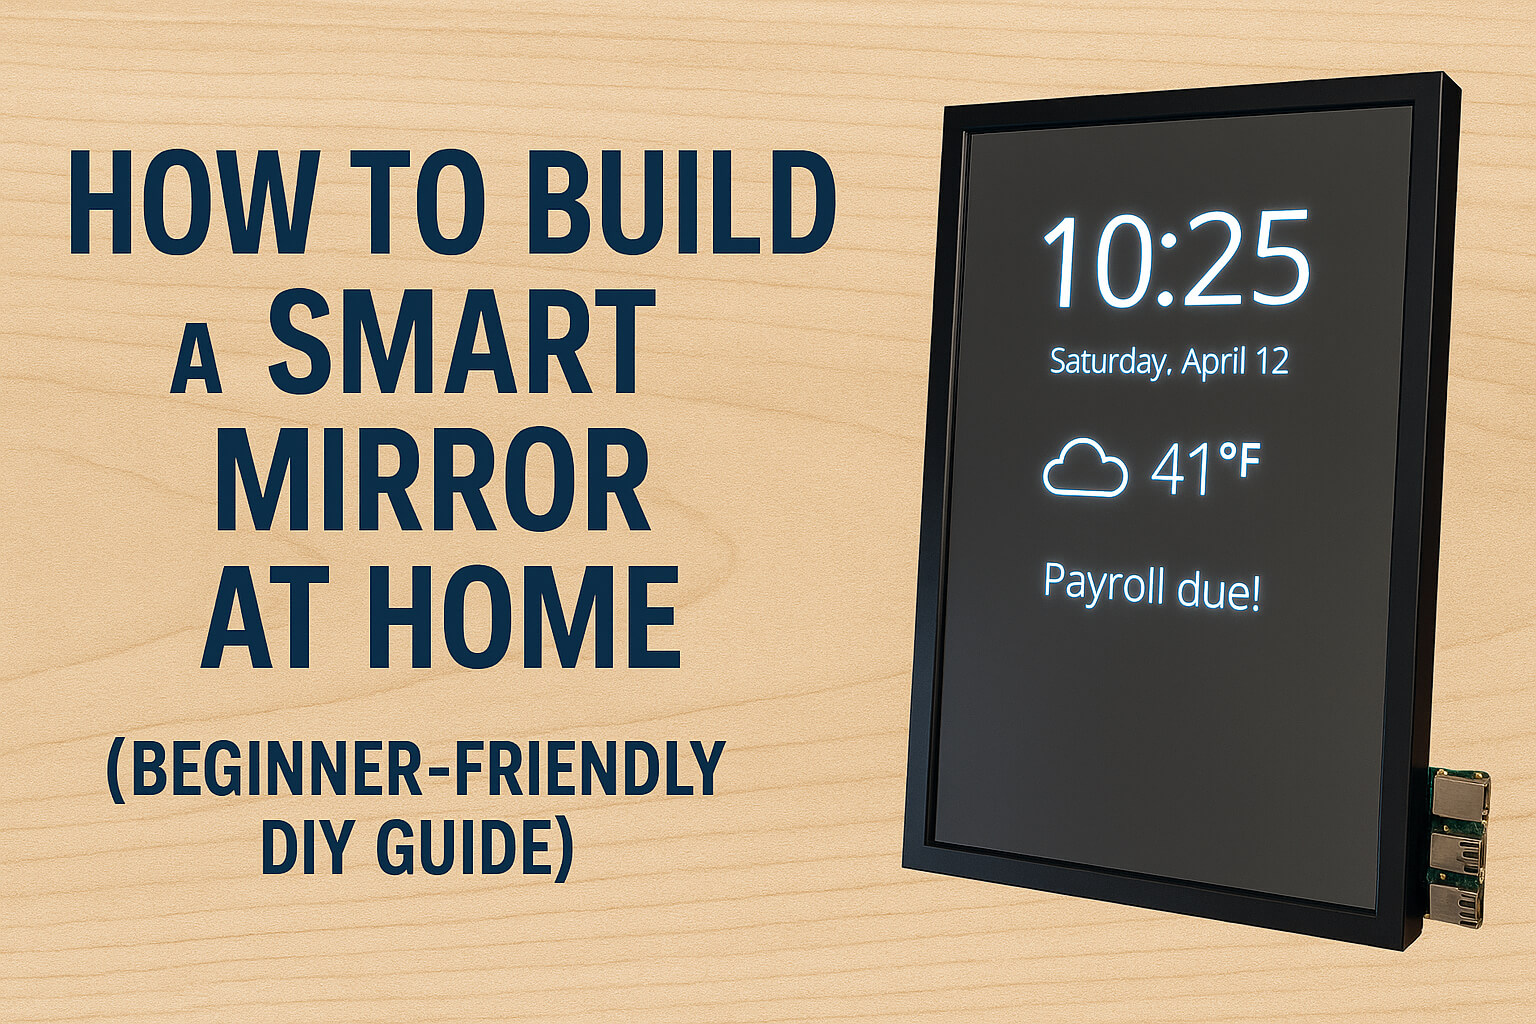
A smart mirror is a two-way mirror with a screen behind it (usually a monitor or tablet) that displays useful information on the glass surface while still functioning as a regular mirror. It operates using a small computer like a Raspberry Pi.
What You’ll Need:
- Two-way acrylic mirror or glass
- Old monitor or small display (17–22 inches ideal)
- Raspberry Pi (4 Model B recommended)
- HDMI cable
- MicroSD card (16GB or more)
- Monitor frame or wooden frame
- WiFi connection
- Free software: MagicMirror²
Step-by-Step Guide:
1. Set Up Your Raspberry Pi
Install the latest Raspberry Pi OS on your MicroSD card. Connect your monitor, keyboard, and power supply. Once booted, install MagicMirror² by following the official installation guide: MagicMirror² Installation Guide.
2. Customize the Display
MagicMirror² allows you to add modules like time, weather, Google Calendar, news feed, to-do list, and more. You can even add facial recognition or voice commands later if desired.
3. Frame It
Secure the two-way mirror in a wooden or custom frame. Mount your monitor behind the mirror, ensuring it’s stable and the screen brightness is sufficient to shine through the mirror.
4. Hide the Electronics
Use foam boards, matte black paint, or wood backing to cover the back and sides of your setup. Ensure ports and ventilation areas are accessible.
5. Mount and Power On
Place your mirror on the wall, table, or vanity. Connect your Raspberry Pi to power and WiFi. As it boots, you’ll see your modules light up on the surface like magic!
Why People Love DIY Smart Mirrors:
- Futuristic and personalized project
- Hands-on tech and Raspberry Pi skills
- Great addition to bedrooms, bathrooms, and home offices
- Cost-effective: approximately $100 depending on existing materials
Need Visual Help?
For a detailed tutorial with visuals and customization options, refer to this guide: How to Build a Super-Slim Smart Mirror.